We have been working on different projects around the globe for almost 10 years, with diverse variations of complexity, specific tasks, and individual approach. Our experience turned out into a powerful workflow system that helps to achieve high productivity, reducing errors, and get a successful outcome.
Work process
1. Start your projects with us, share your thoughts and vision.
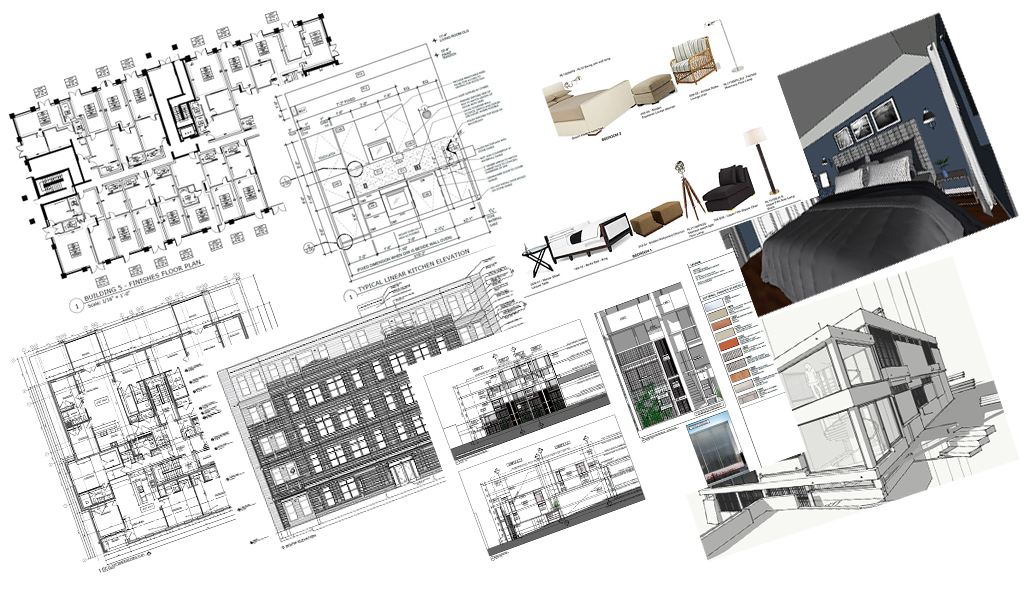
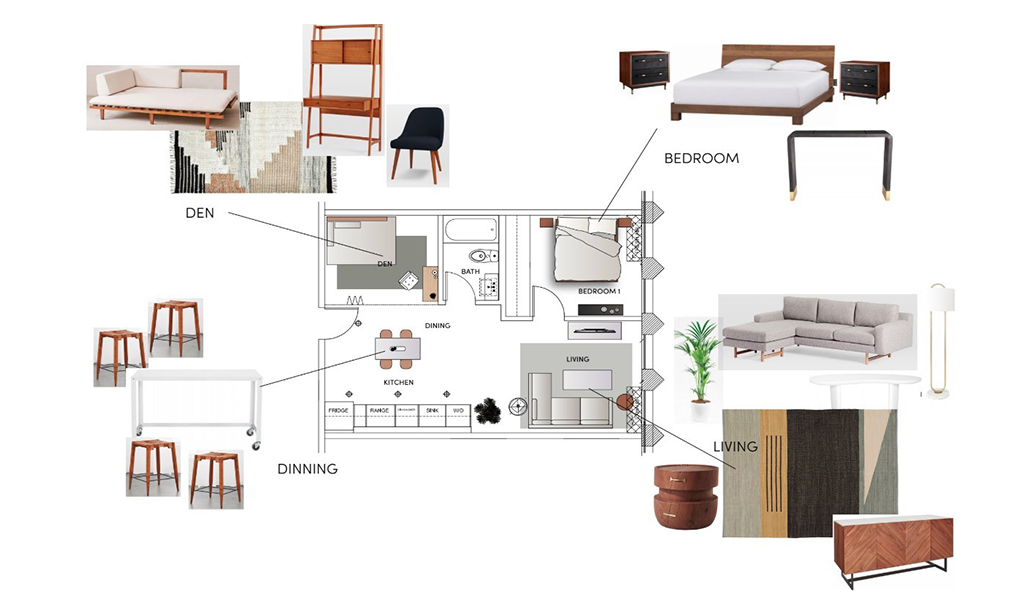
Provide us with all the available project information (drawings, sketches, description, google maps, 3d model from architects, design presentations or mood boards, design specification, and material selection).
We are working with DWG or PDF drawings, 3d models from Revit, Sketchup, 3dsmax, etc, sketches, descriptions, etc.
Having the full package of the project information we provide you with the right quotation and schedule of the future work process.
2. Project-based contract.
We negotiate quotations, terms, and conditions of the project and sign the document with an invoice for the down payment.
After payment confirmation of deposit before the project start we begin a phased implementation of the project. At this stage we set the clear schedule of each preview and ask all additional questions if needed.
3. Workflow process.
Step 1
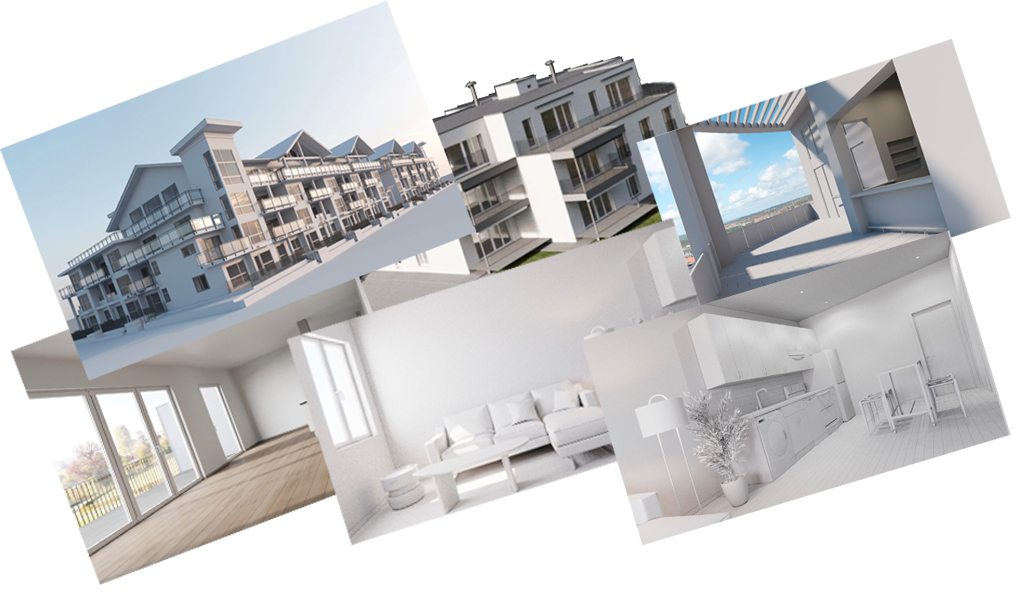
Modeling Creating 3d geometry or cleaning 3d models from Architects, render white previews –> Reviewing –> Approval.
Having prepared all the basic geometry, we do a test render in gray color with real light, usually without decoration and with main elements only, at this stage clearly we can fix all visible errors with geometry and composition, select new angles.
This stage helps us to experiment with the options of furniture ( for interiors ), details of building ( for exteriors ) following the successful completion of this step of the geometry creating we move on to the next stage.
Step 2.
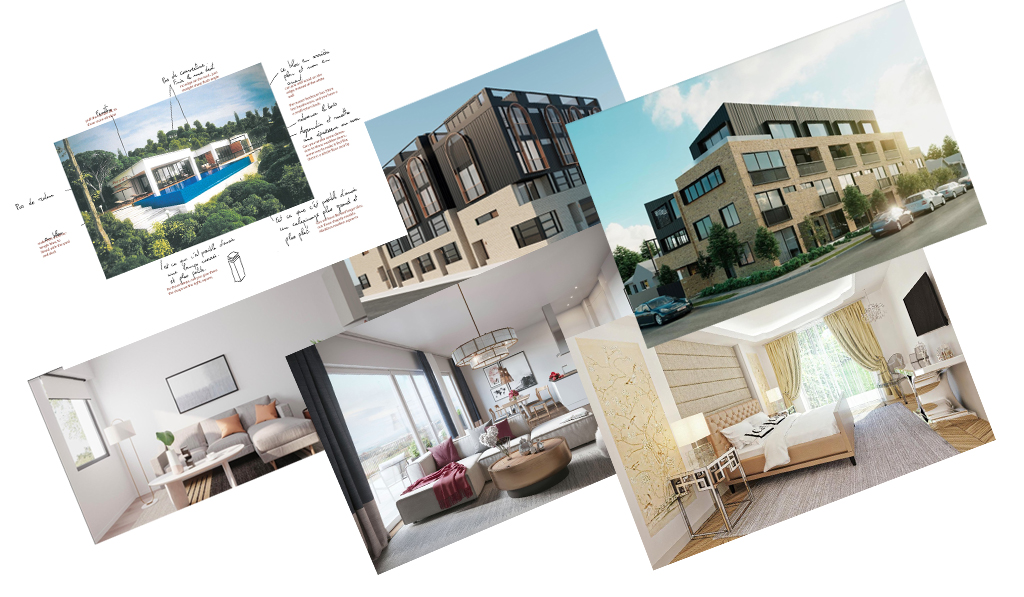
Pre-final render – Changes – Approval.
At this stage, we are working on adding textures, materials, lights, creating fast renders with medium settings, if necessary, we implement up to 3 revisions, following all comments.
Step 3.
Final render image with watermark.
At this stage we will send an invoice for the second part of payment with final images with our watermark, so after payment confirmation from your side we send all delivery files in high resolution and remove all watermarks so you can work further on your project and presentation with your clients.
“An image says better than a thousand words”.
So we do the best for you, to turn your dream into 3d reality