Seven key steps to help you succeed in your 3D visualization projects.
Step 1. Asking Questions And Making Statements.
Define your project goals and objectives – clearly establish what it is that you want to achieve through the visualization process. Clearly formulated correct questions before the project starts, will help you to minimize deadlines and provide the most suitable outcome for the customer, that’s the photorealistic renderings or animations. At the beginning of the project we usually try to clarify all the details and ask as many questions as possible. This help us not to waste customer’s time in the future and also to provide effective work for our visualizers. The scope of the questions depend on the project : interior, exterior, animation, 3d modeling or virtual panorama tour.

Step 2. Getting acquainted with all primary data elements and defining more precisely the final outcome.
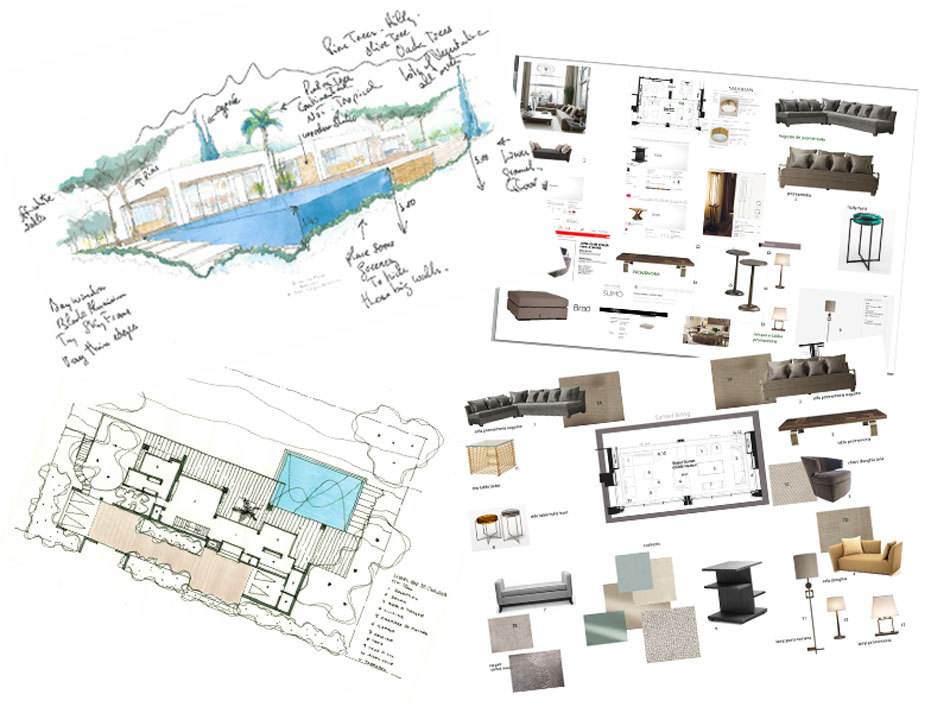
Assess resources – evaluate what tools, software, skills, and other necessary components will be required for the successful completion of the project. The primary data always varies, even if the goal for each project is the same — to receive the picture of the highest quality. In case the customer does not have an accurate assignment for visualization, you should dig into details and clear out whether all the info is agreed and it won’t change in the future. for example, drawings and sketches for the exterior visualizations or furniture and decoration situati
on in the interiors.
Step 3. Detailed selection for 3d modeling and visualization due to customers ‘references.
Develop a timeline – map out a realistic timeline that outlines each stage of the process from start to finish.Clients may describe all in details or show the items of decoration which are desired from the project, but the best way is to provide the illustrative images as examples. It will save much time and help to get on well with the customer from the early stages of the project. It’s required to have images of all the decorations to be used in the final work.

Step 4. Organize the work process.
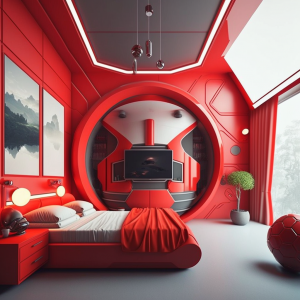
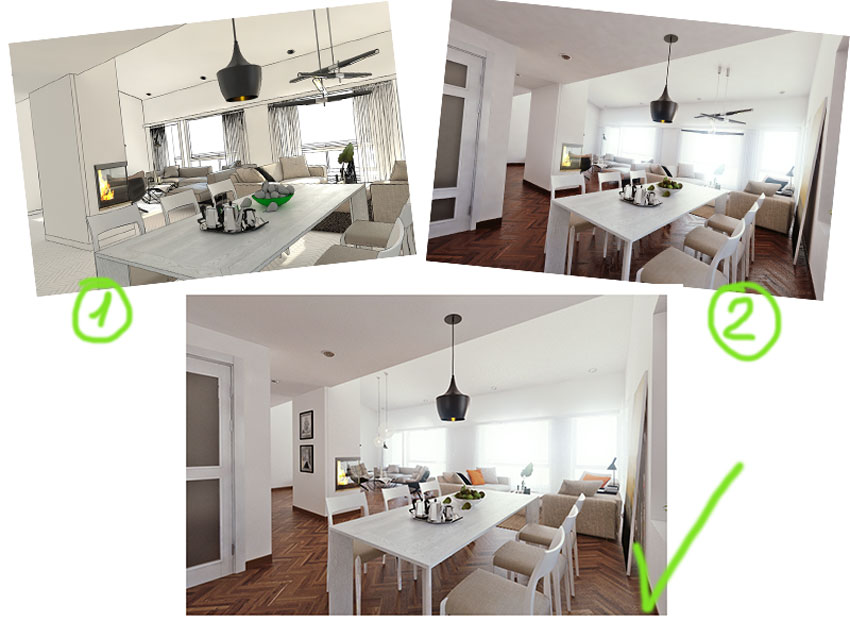
Design with purpose – create visuals that accurately represent real-life context and effectively communicate intended messages or information. The work process should be organized in the way to avoid as little modifications as possible from the customer side. All the process should be divided into three stages: the beginning, medium and the final one. It will save time for both of you.
Step 5. Follow strictly the task.
Test & refine designs – use feedback loops to test designs against agreed upon criteria and make necessary adjustments or improvements until desired results are achieved at an acceptable level of quality. If you are working on 3d visualization only, not offering the design, better follow all the details which customer has agreed. It is not recommended to mix the textures or colors only because you do not like something, this can lead to delays and many corrections from the customer side.

Step 6. Act without groundless promises.
Stay organized & document progress – maintain clear records throughout every step of the process so nothing gets lost or forgotten during production; this includes tracking milestones as well as changes made along the way . Estimate your real feasibility and point out all the limits that demonstrate your professional competence. Do not promise anything under the sun. Try to manage all the work always in time.

Step 7. Learn, learn and learn.
Try to look for inspiration in everything you are surrounded. Investigate the color, composition, take up photography. You should realize what kind of product you want to sell. It can be a quick preview which does not take much time or the extremely good work which will differentiate from the others. Anyway, look for something that inspires you. Celebrate success – celebrate successes when they occur by recognizing individual contributions; this helps motivate everyone involved in future projects.